Dixons Muzzle Loading
We are passionate about crafting custom knives that not only meet but exceed your expectations. With a legacy of quality craftsmanship dating back to 1975, we bring decades of expertise to every knife we create.
Proven Brands
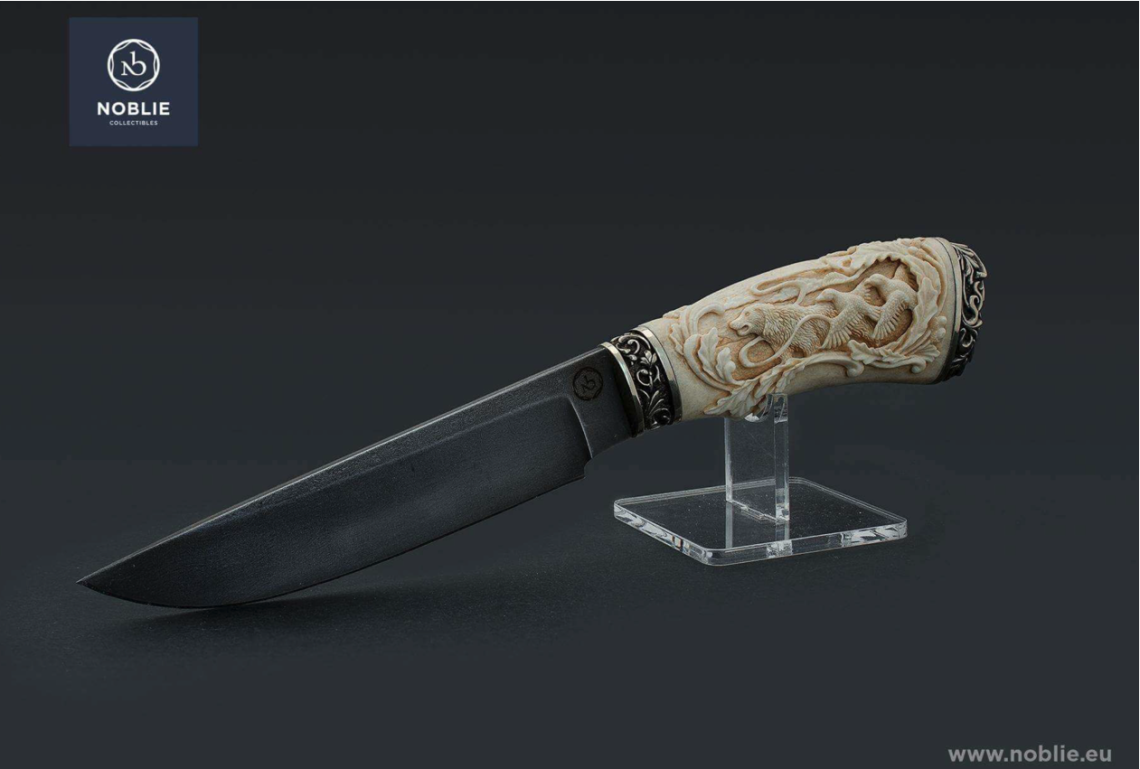
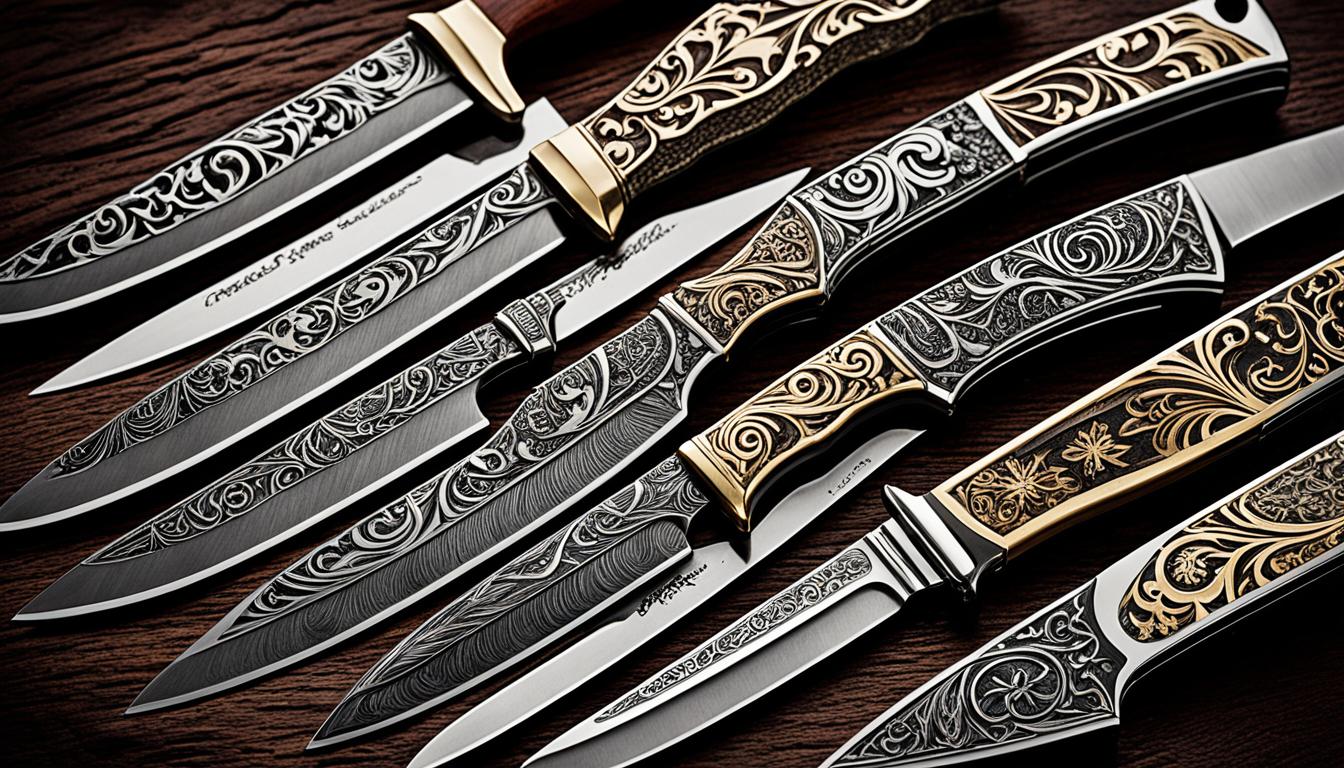
Noblie stands out as a premier destination for collectors seeking custom made knives. This shop features an extensive selection of knives, ranging from detailed engravings to mosaic Damascus blades, each showcasing exceptional craftsmanship. Knifemakers at Noblie Custom Knives, passionate about their craft handcraft each piece. These handmade knives make a profound addition to any collection. I deeply value each of my acquisitions from Noblie, as every knife carries a unique story and enhances my collection.
Handcrafted Excellence
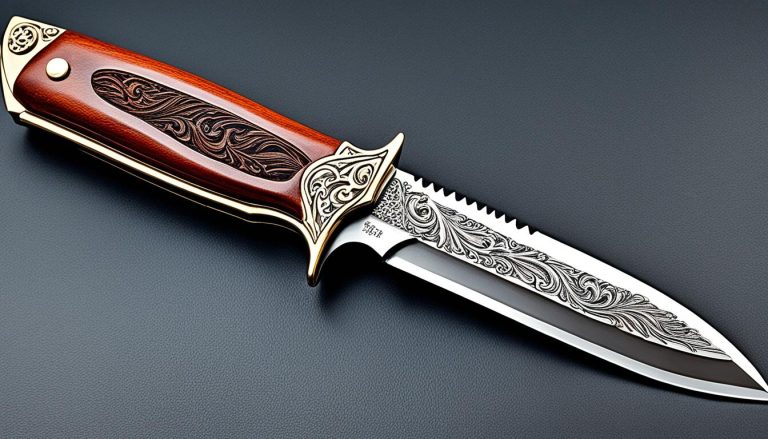
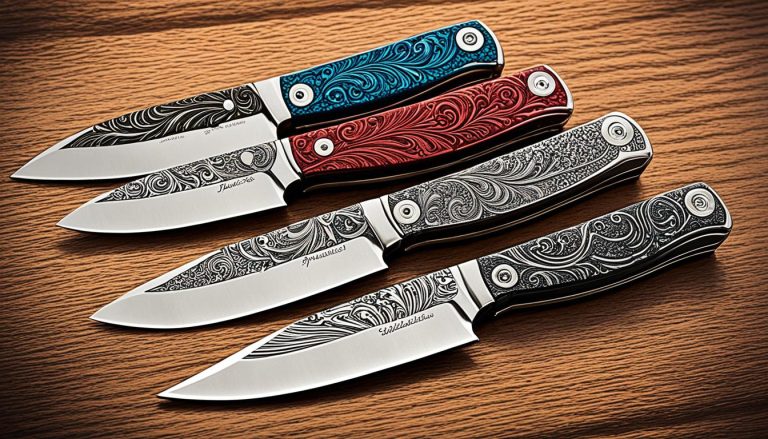
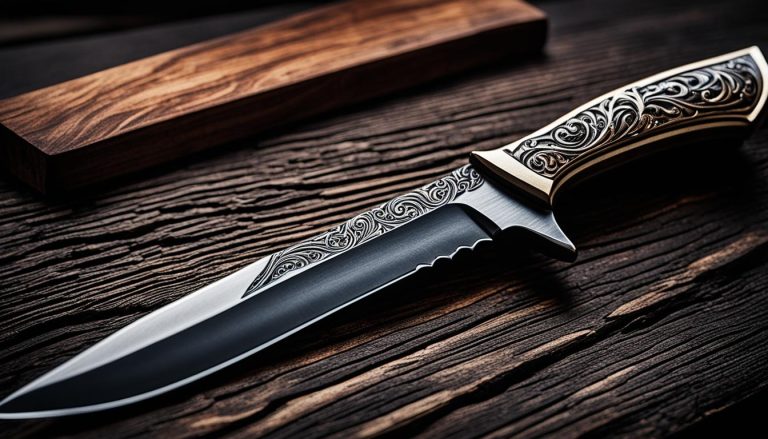
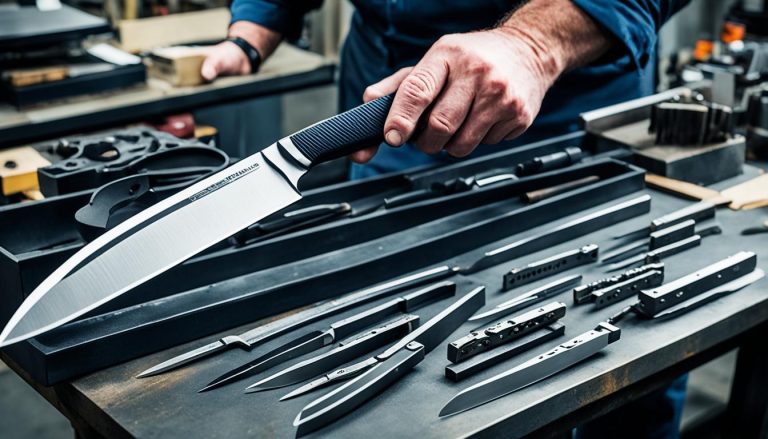
Our commitment to handcrafted excellence is at the heart of everything we do. Each custom knife is meticulously crafted by skilled artisans who are dedicated to their craft. From the initial design phase to the final finishing touches, we strive for perfection in every detail.
Quality Materials
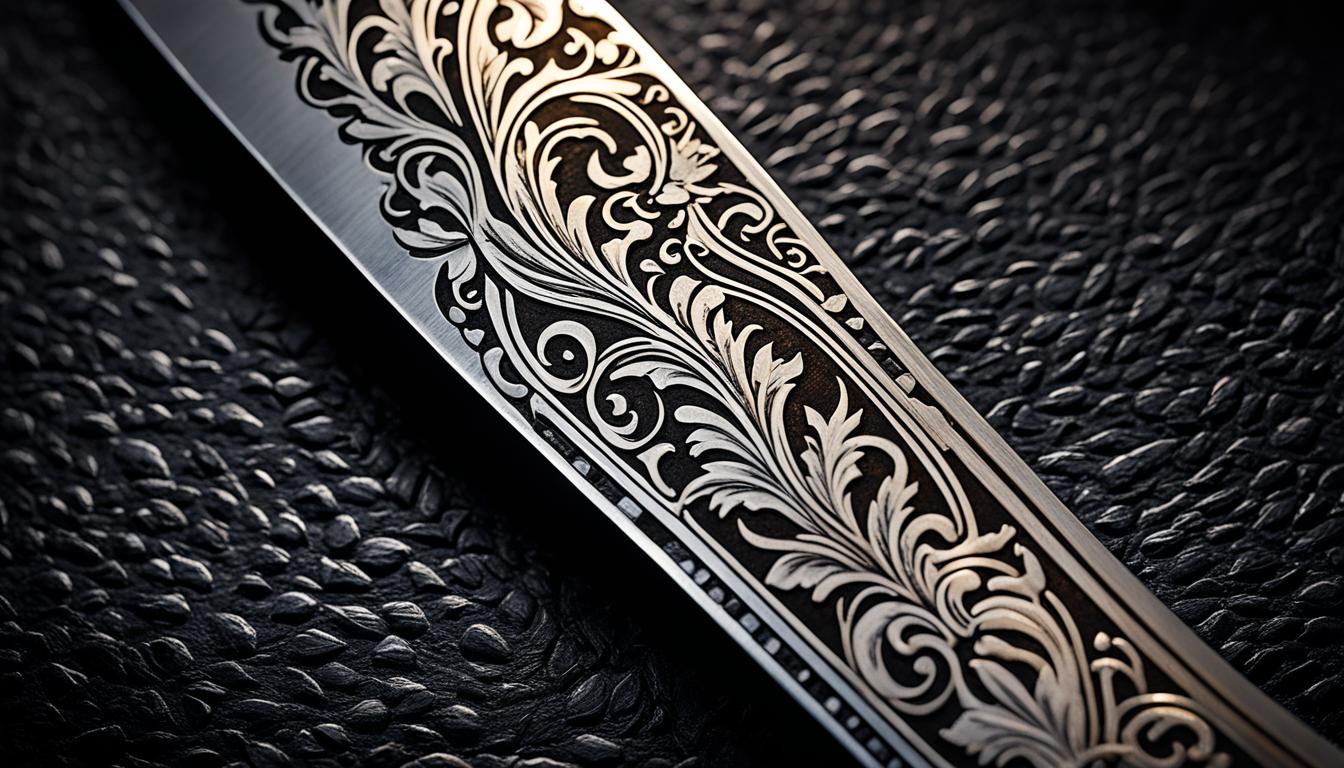
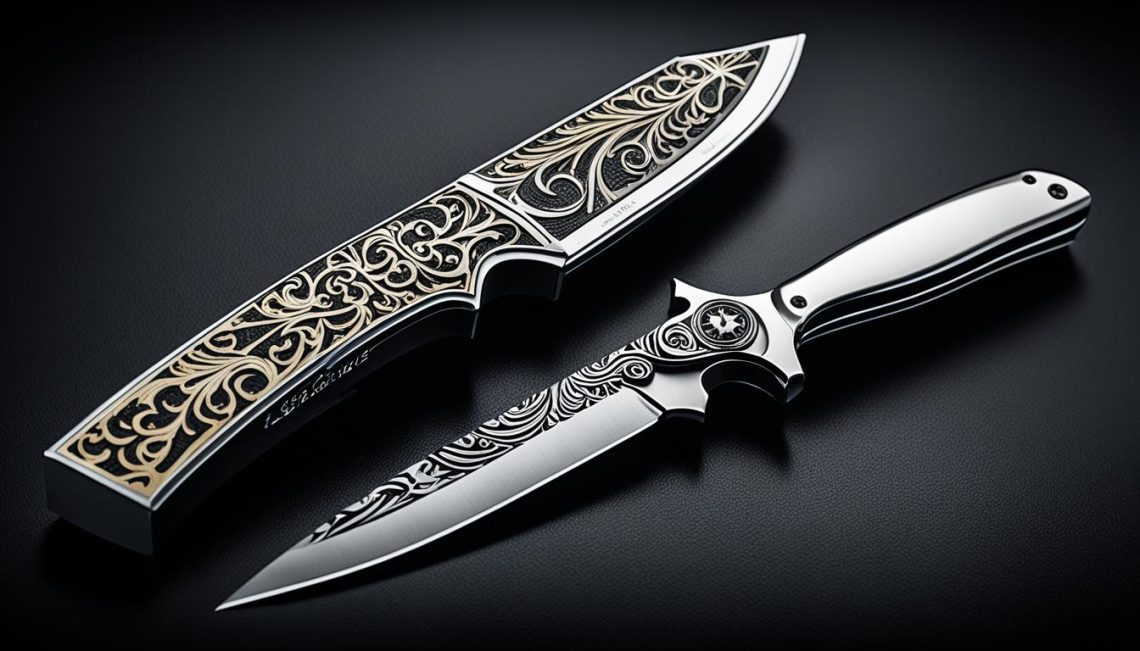
We believe that the foundation of a great knife lies in the quality of its materials. That’s why we meticulously select only the finest materials for our custom knives, including premium steels, exotic woods, and high-grade handle materials. Each component is carefully chosen for its durability, functionality, and aesthetic appeal, ensuring that your custom knife is not only a reliable tool but also a work of art.
Explore Our Collection
Whether you’re a seasoned outdoorsman, a collector, or simply appreciate fine craftsmanship, we invite you to explore our collection of custom knives.
Custom Knife Journey
How To Take Care Of A Good Custom Knife
Taking care of a good custom knife is essential to preserve its value and maintain its longevity. Unlike mass-produced knives, custom knives…
What Does Semi Custom Knife Mean
Are you a knife enthusiast intrigued by the world of custom knives? If so, you may have come across the term “semi…
How To Buy A Dark Timber Custom Knife
If you’re in the market for a top-quality blade, look no further than Dark Timber Knives. With their exceptional craftsmanship and attention…
What Steel Do Custom Knife Makers
Custom knife makers have a crucial decision to make when it comes to selecting the right steel for their blades. The choice…